Making of this Acrylic Library Model
In my fourth year of Architecture school, we got assigned a group project that ended with me making one of the best architectural models I've made to date. I'll show you exactly how I did it (caveat; this process requires at least a laser cutter).
The last two weeks of this project I remember telling the group "hey, I'd like to focus on making a great presentation model, so give me the next two weeks to focus on that and you can finish up everything else". To my delight, they agreed to it, and I got to work.
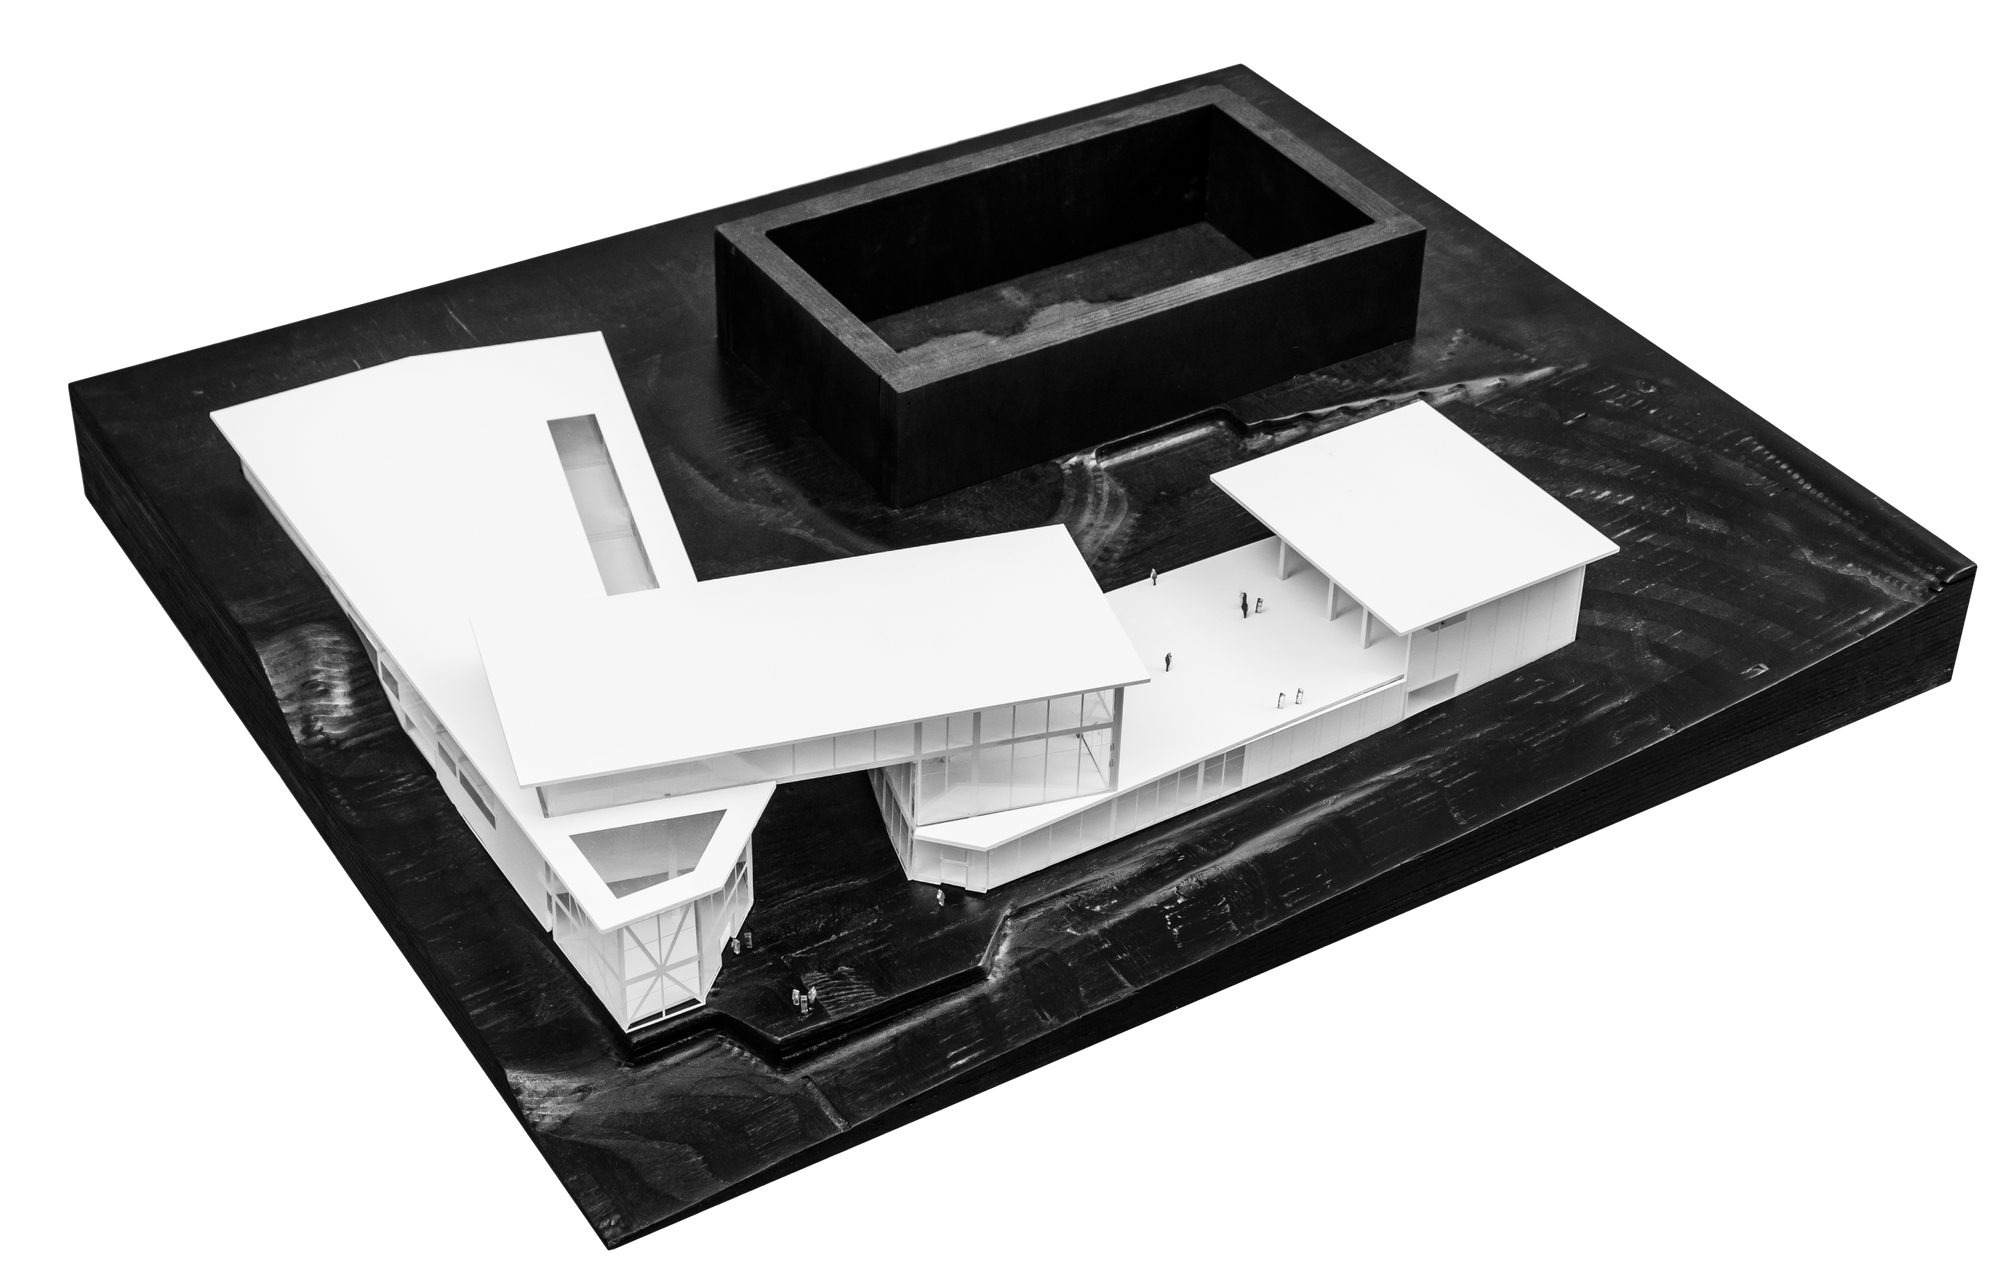
I'll split this work up into 2 parts, the base (site model) and the building model.
Making the Building - Steps:
1) Layout your laser-cut files (elevations and floor plans) keeping in mind that the 'mullions' and 'glazing' should be etched and the perimeters cut.
2) Prepare your acrylic sheets by cleaning, taking off the protective layer, and covering them in blue painter's tape.
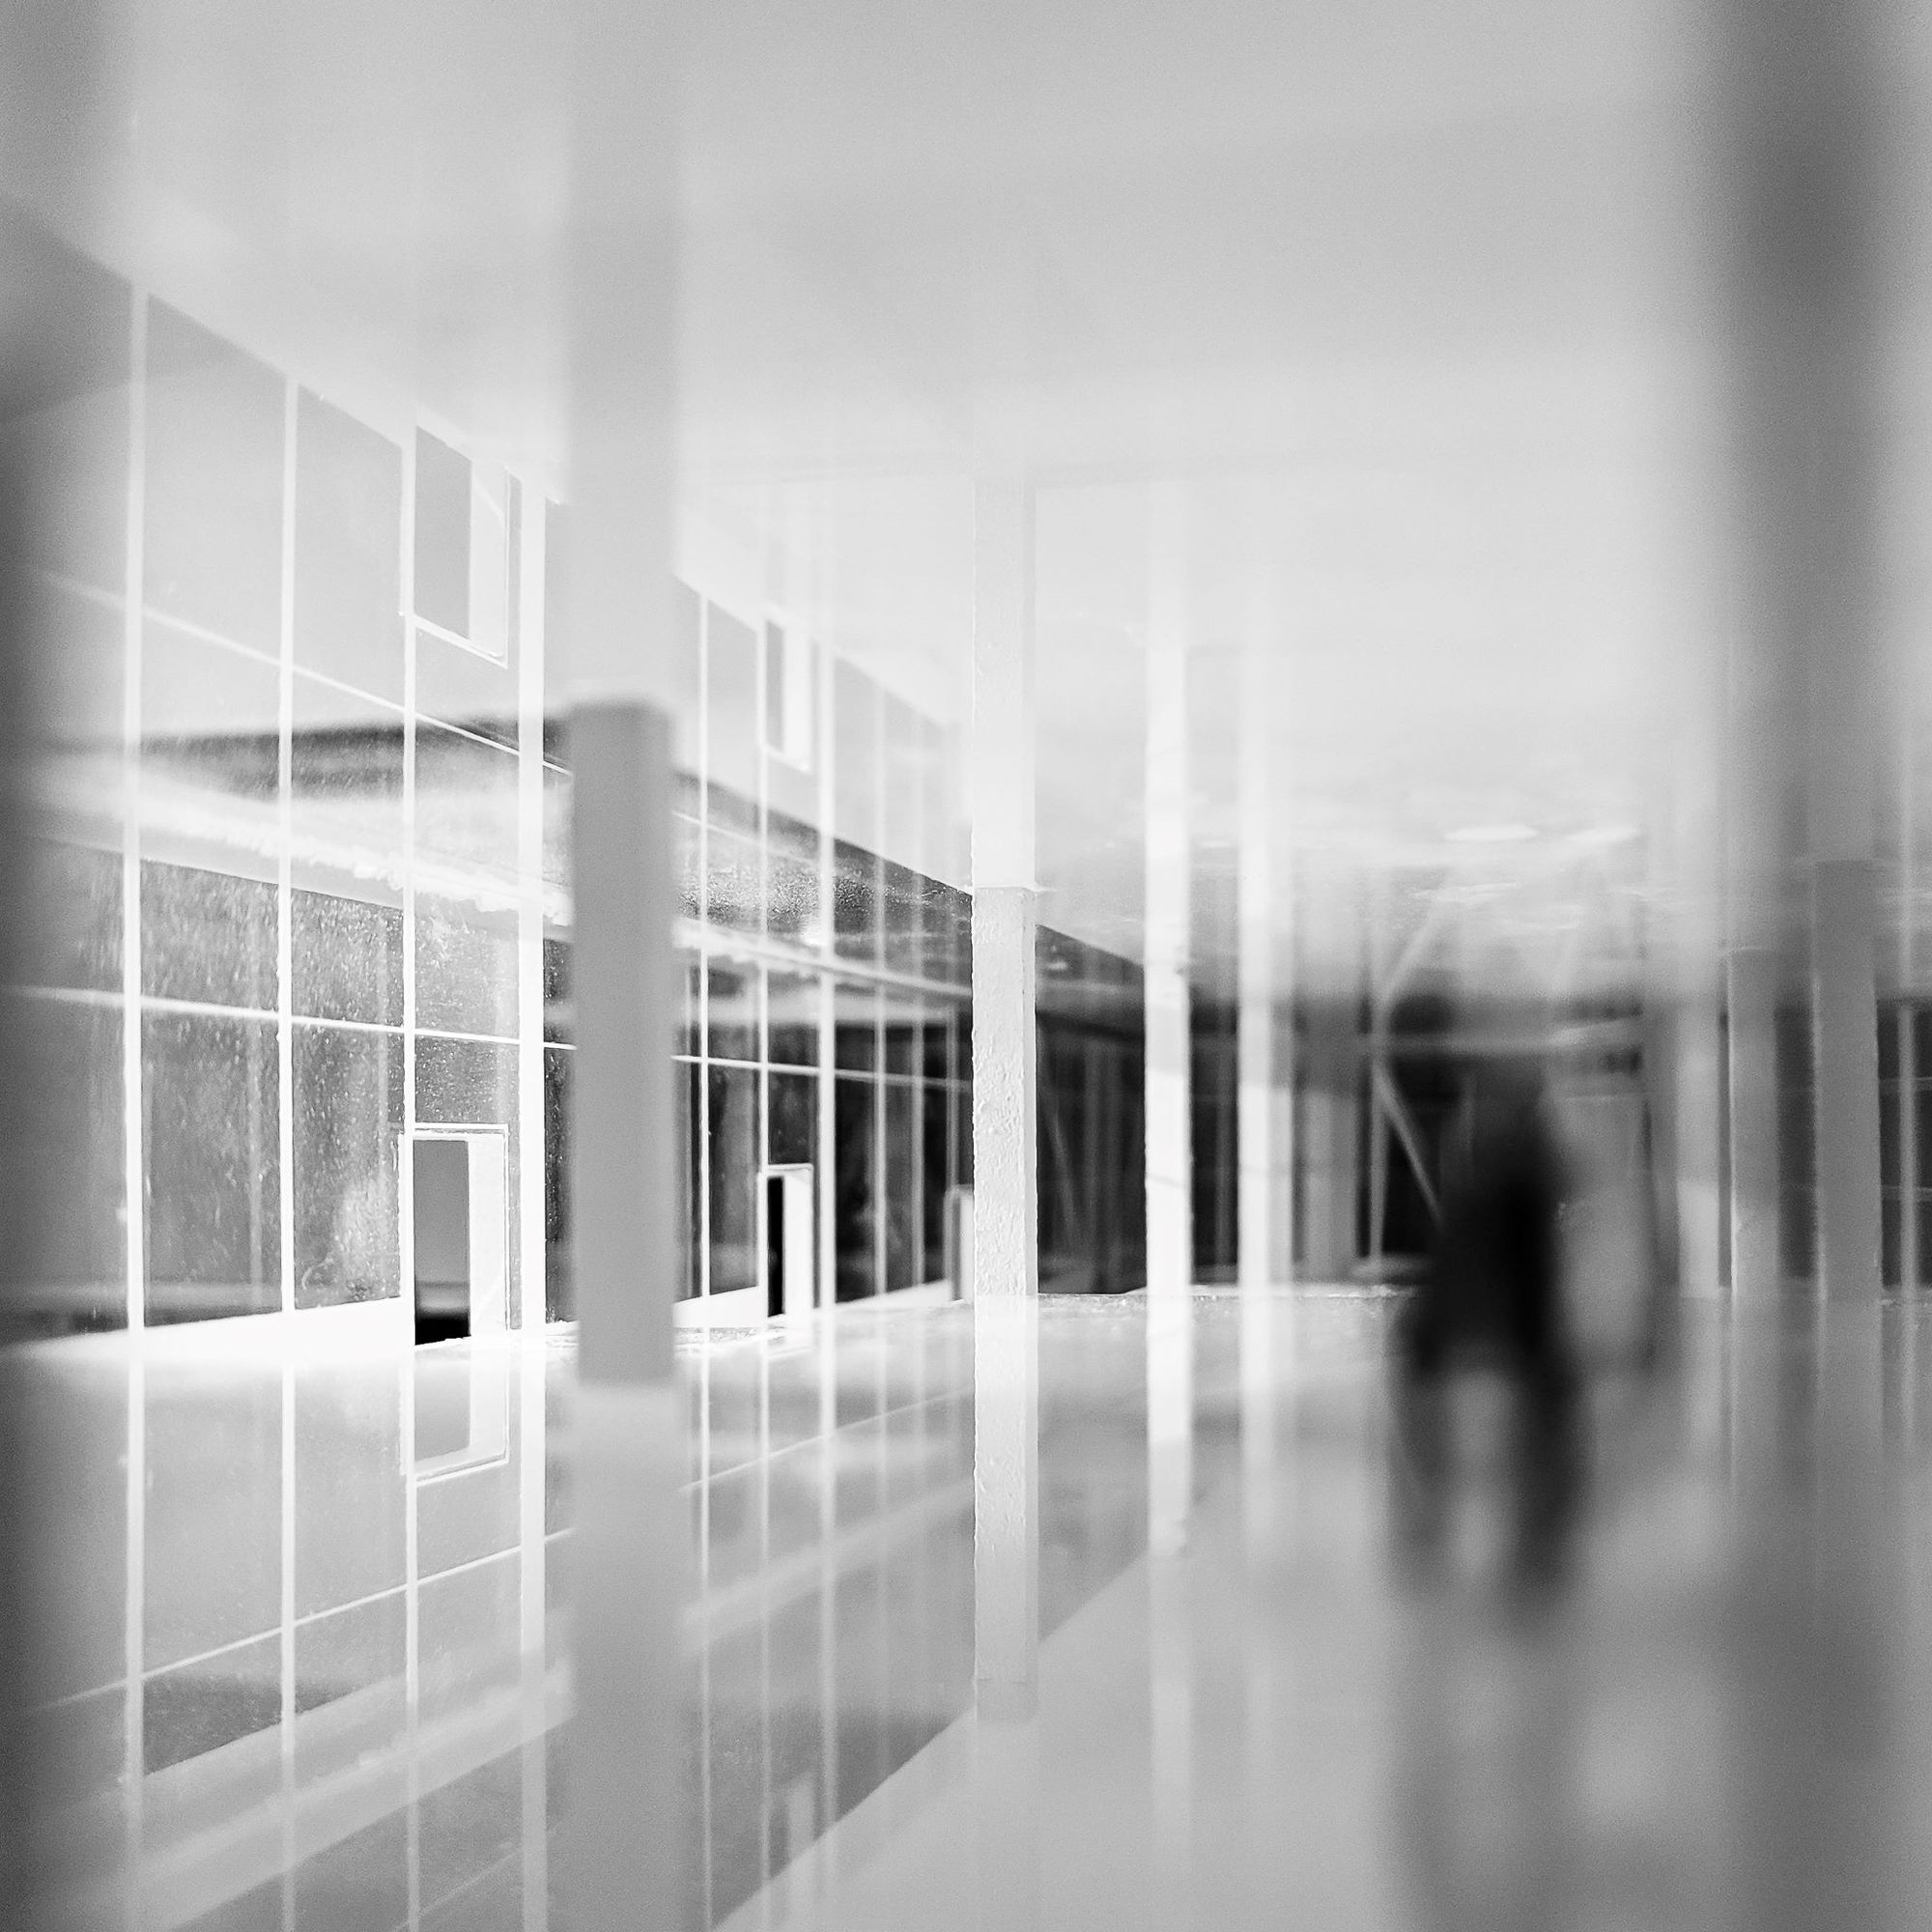
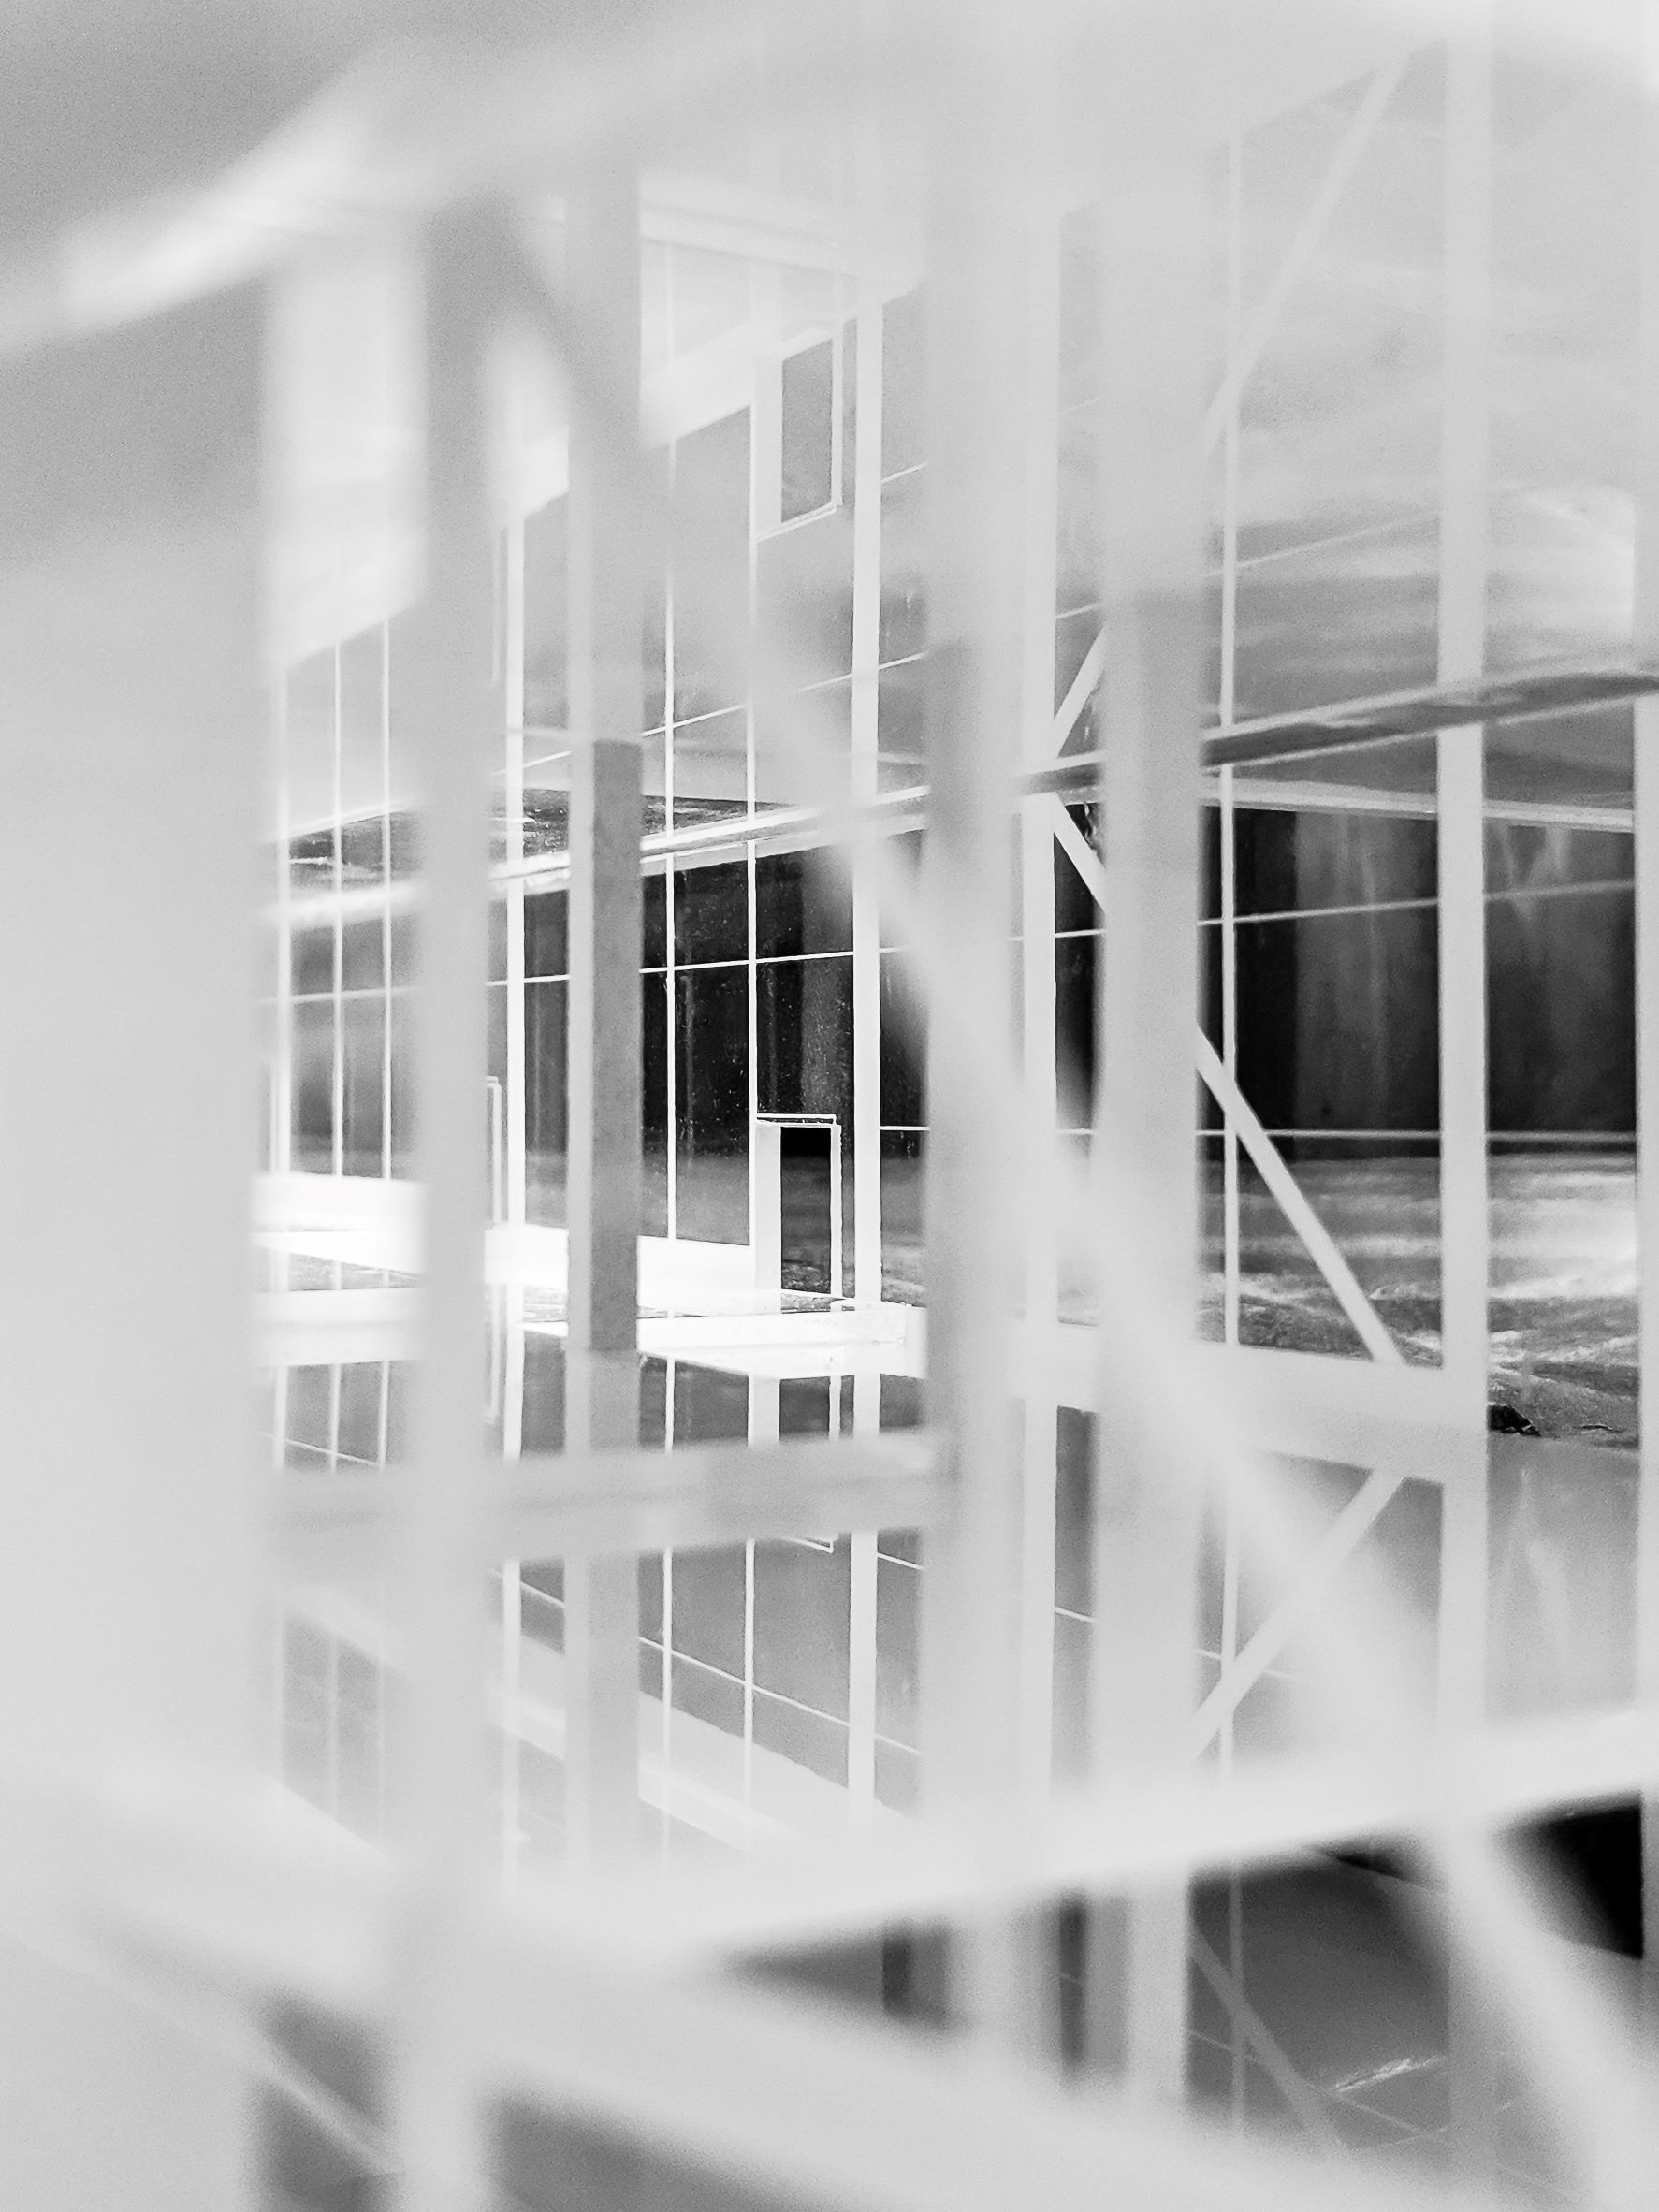
3) Cut and etch out all your elevations and floor plates.
4) Peel off the blue tape where you want the model to be opaque (where the mullions and framing you etched are).
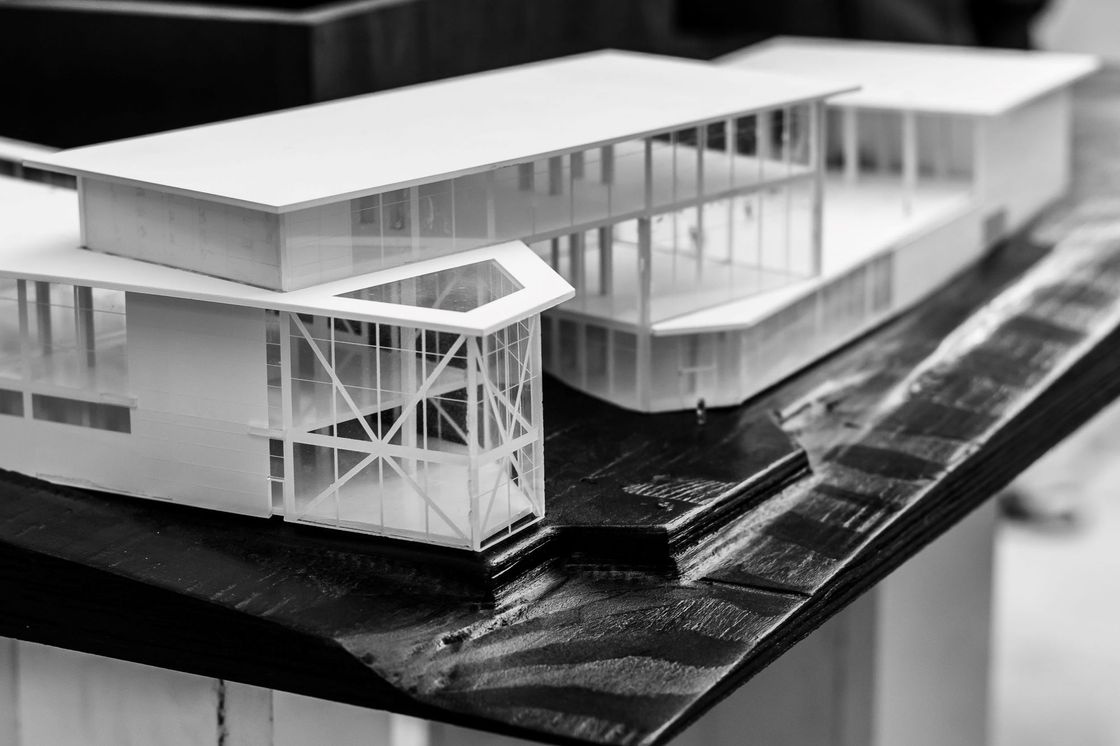
5) Spray paint the sheets to your desired color (here I did white).
6) Remove the rest of the blue tape after the paint is dry.
7) Assemble and glue together the floor plates and elevations (use CA glue to avoid acrylic fogging up).
Pro tip: Etch and paint what will become the 'inside' of the model so that the model has more depth and the paint doesn't get damaged over time.
Making the Base - Steps:
1) Prepare the 3d model of the site, typography, and cutouts for your building and all.
2) Prepare the material based on your 3d model, each layer of plywood is roughly 3/4" so cut down the sheets (a little oversized) and glue them together to your total height (if your typography is crazy maybe don't use this method).
3) CAM your file for the CNC router you are going to use + route out your base.
4) Do some sanding and cleaning up.
5) For the blackout finish, use India ink and rag and apply it till the model is jet black but you can still see the plywood layers underneath (I really liked this effect).
6) Spray on any clear coat finish to protect the ink finish.
'The Making Of' from Instagram:
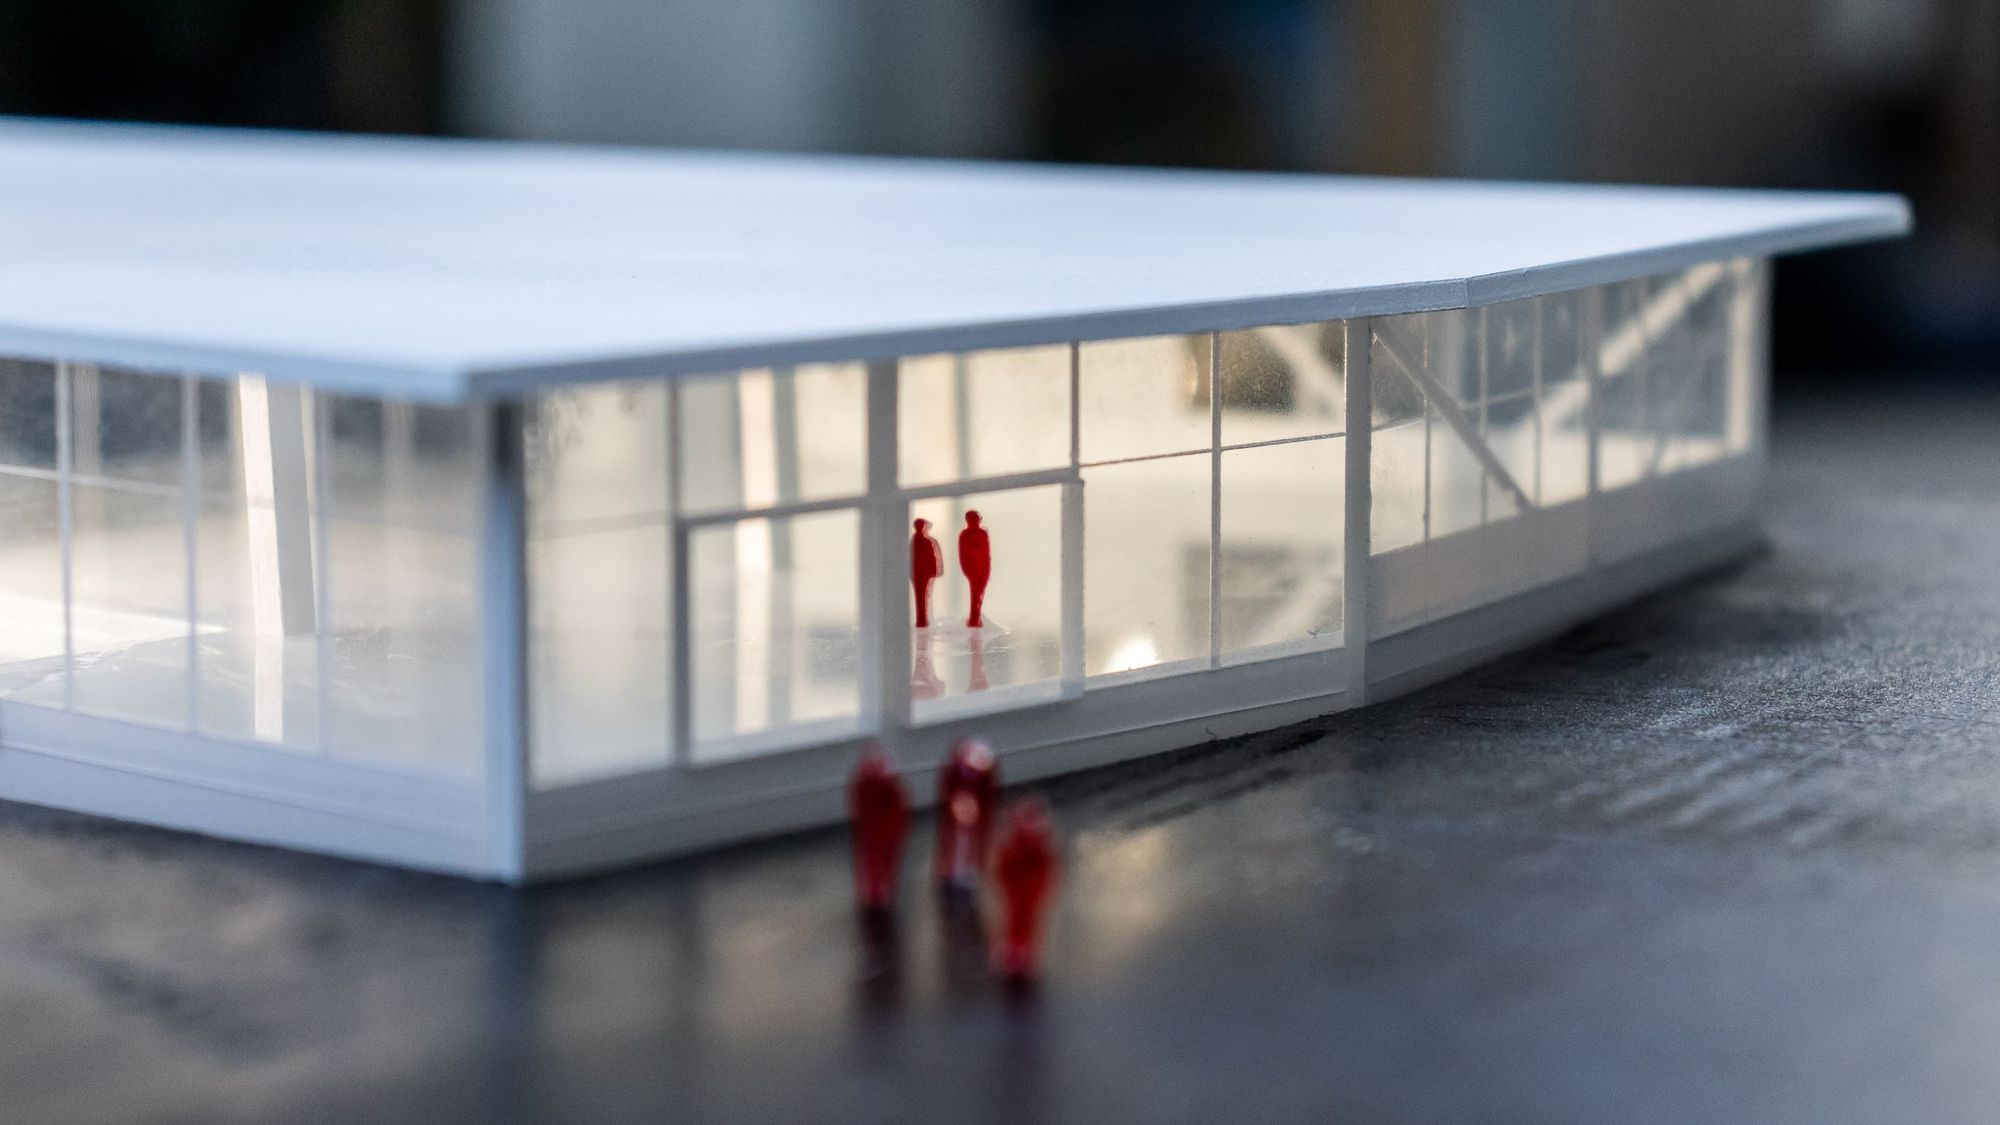
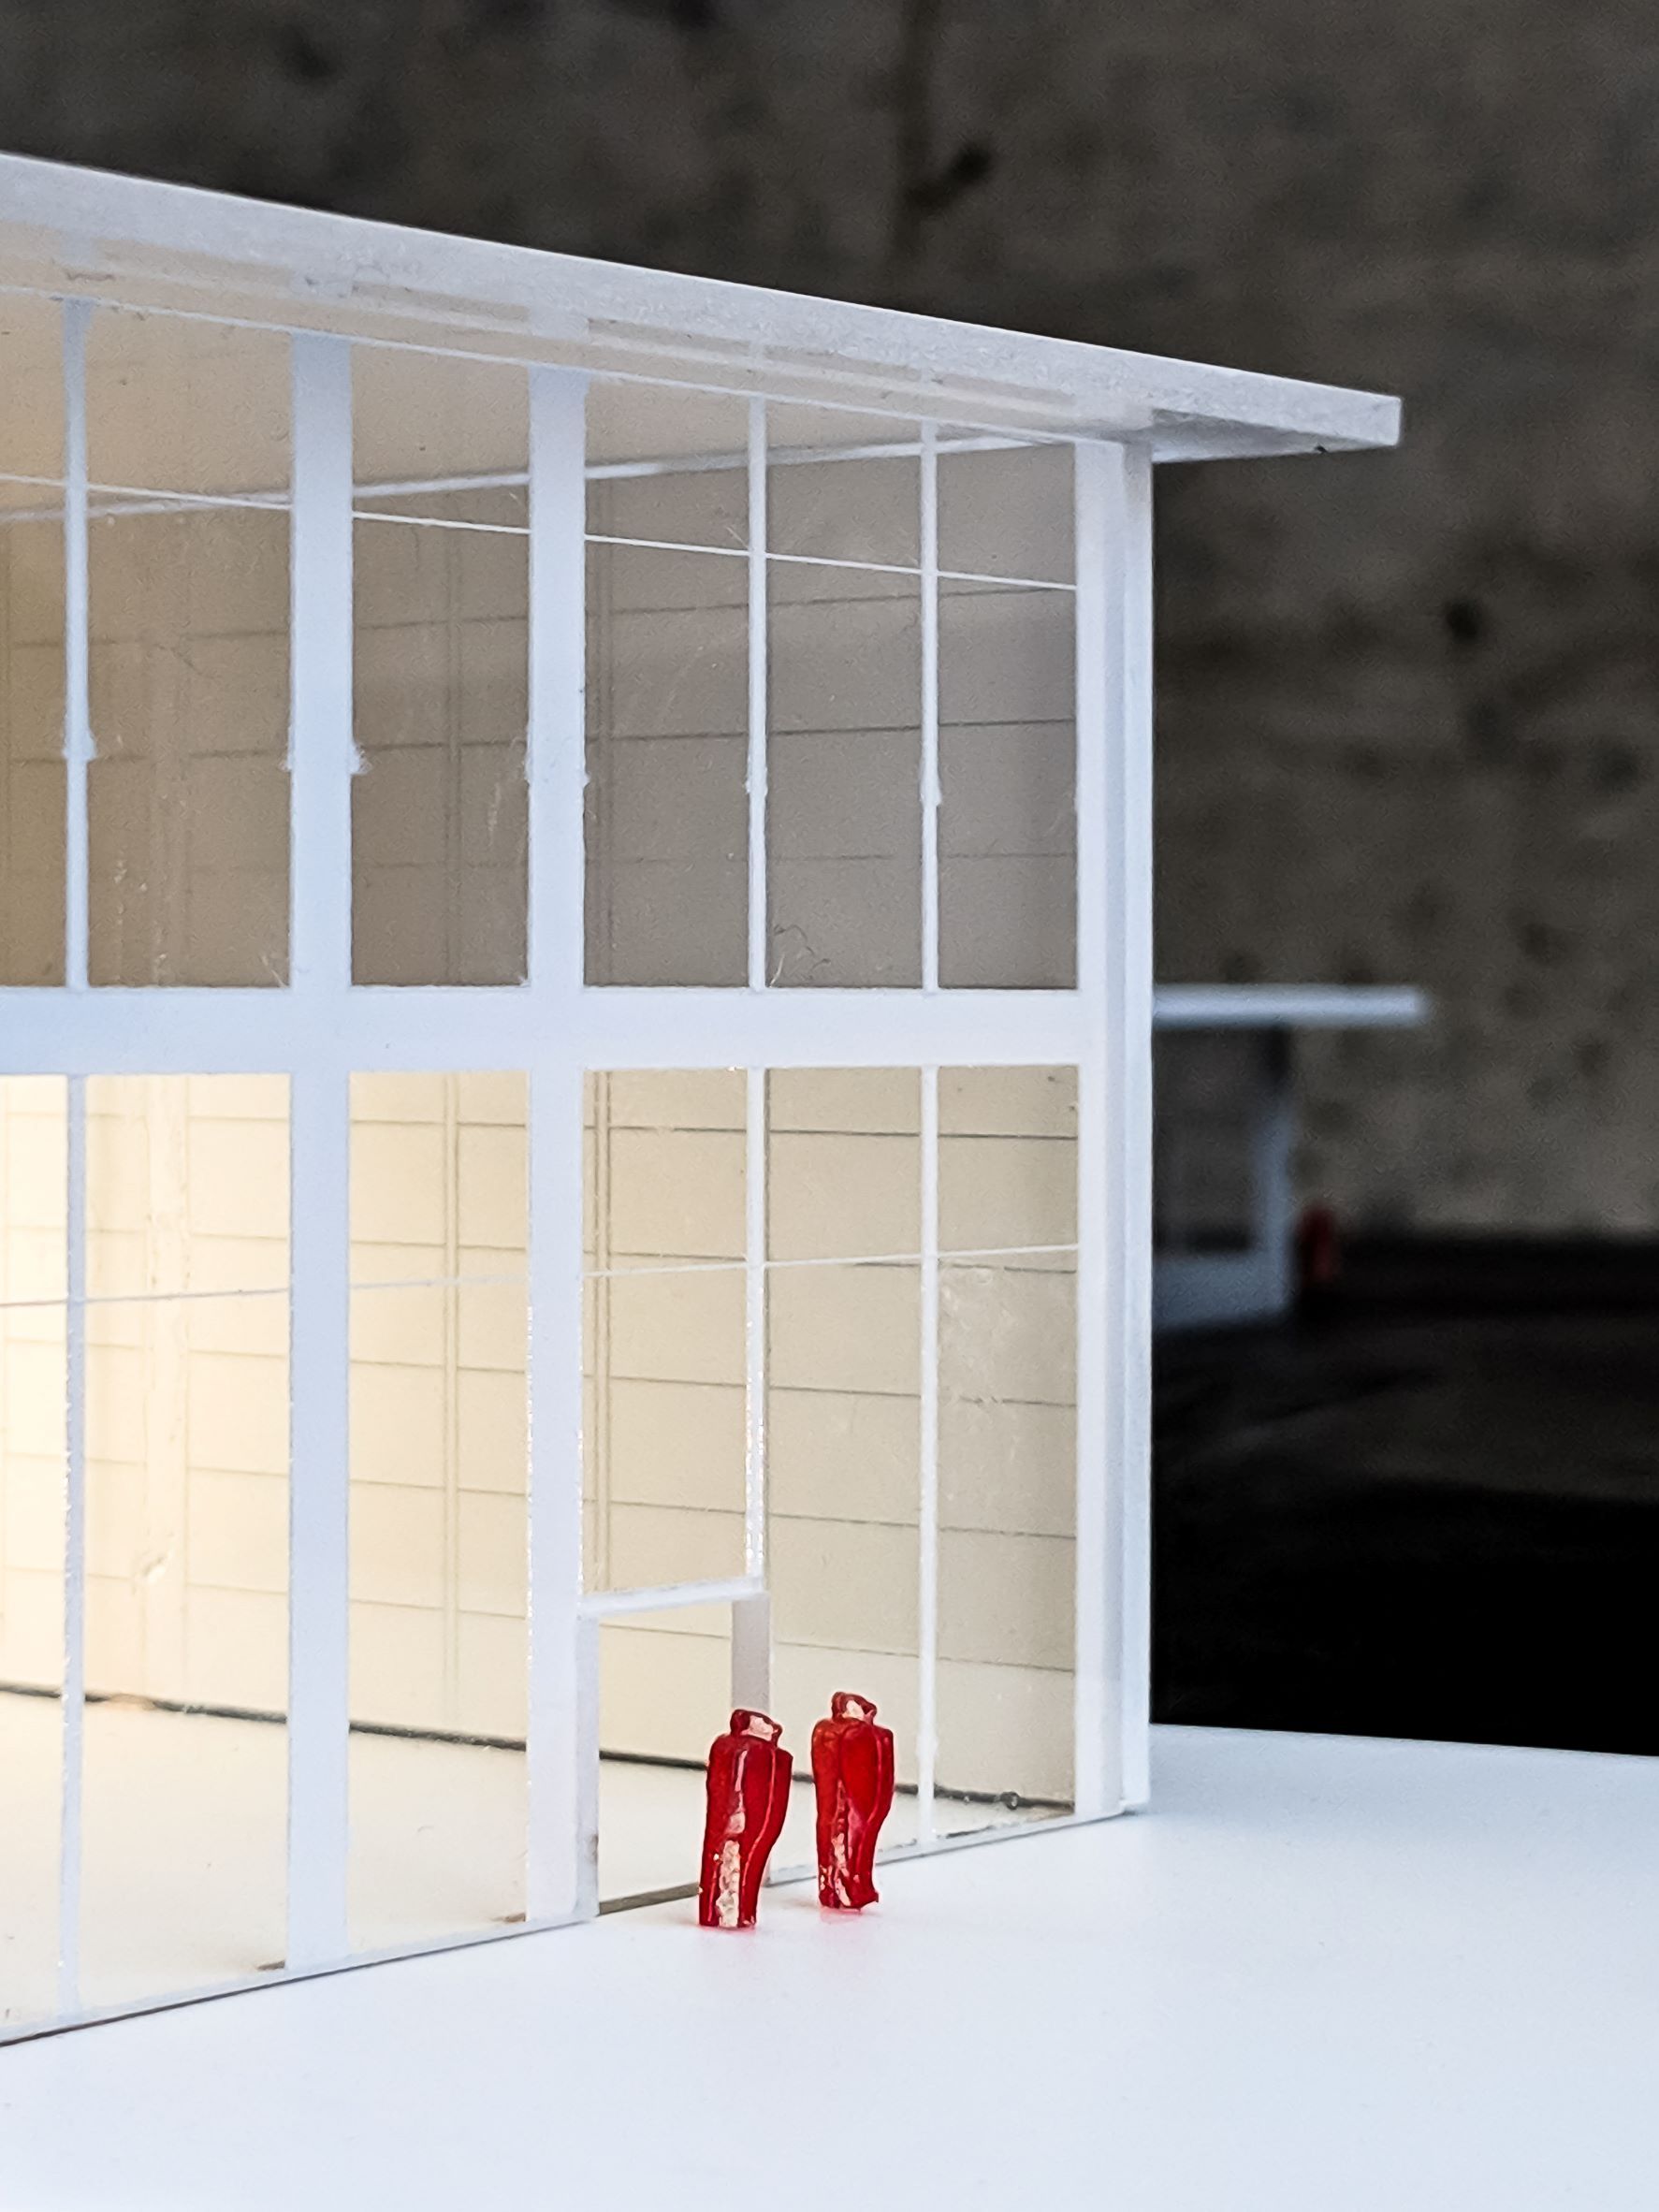
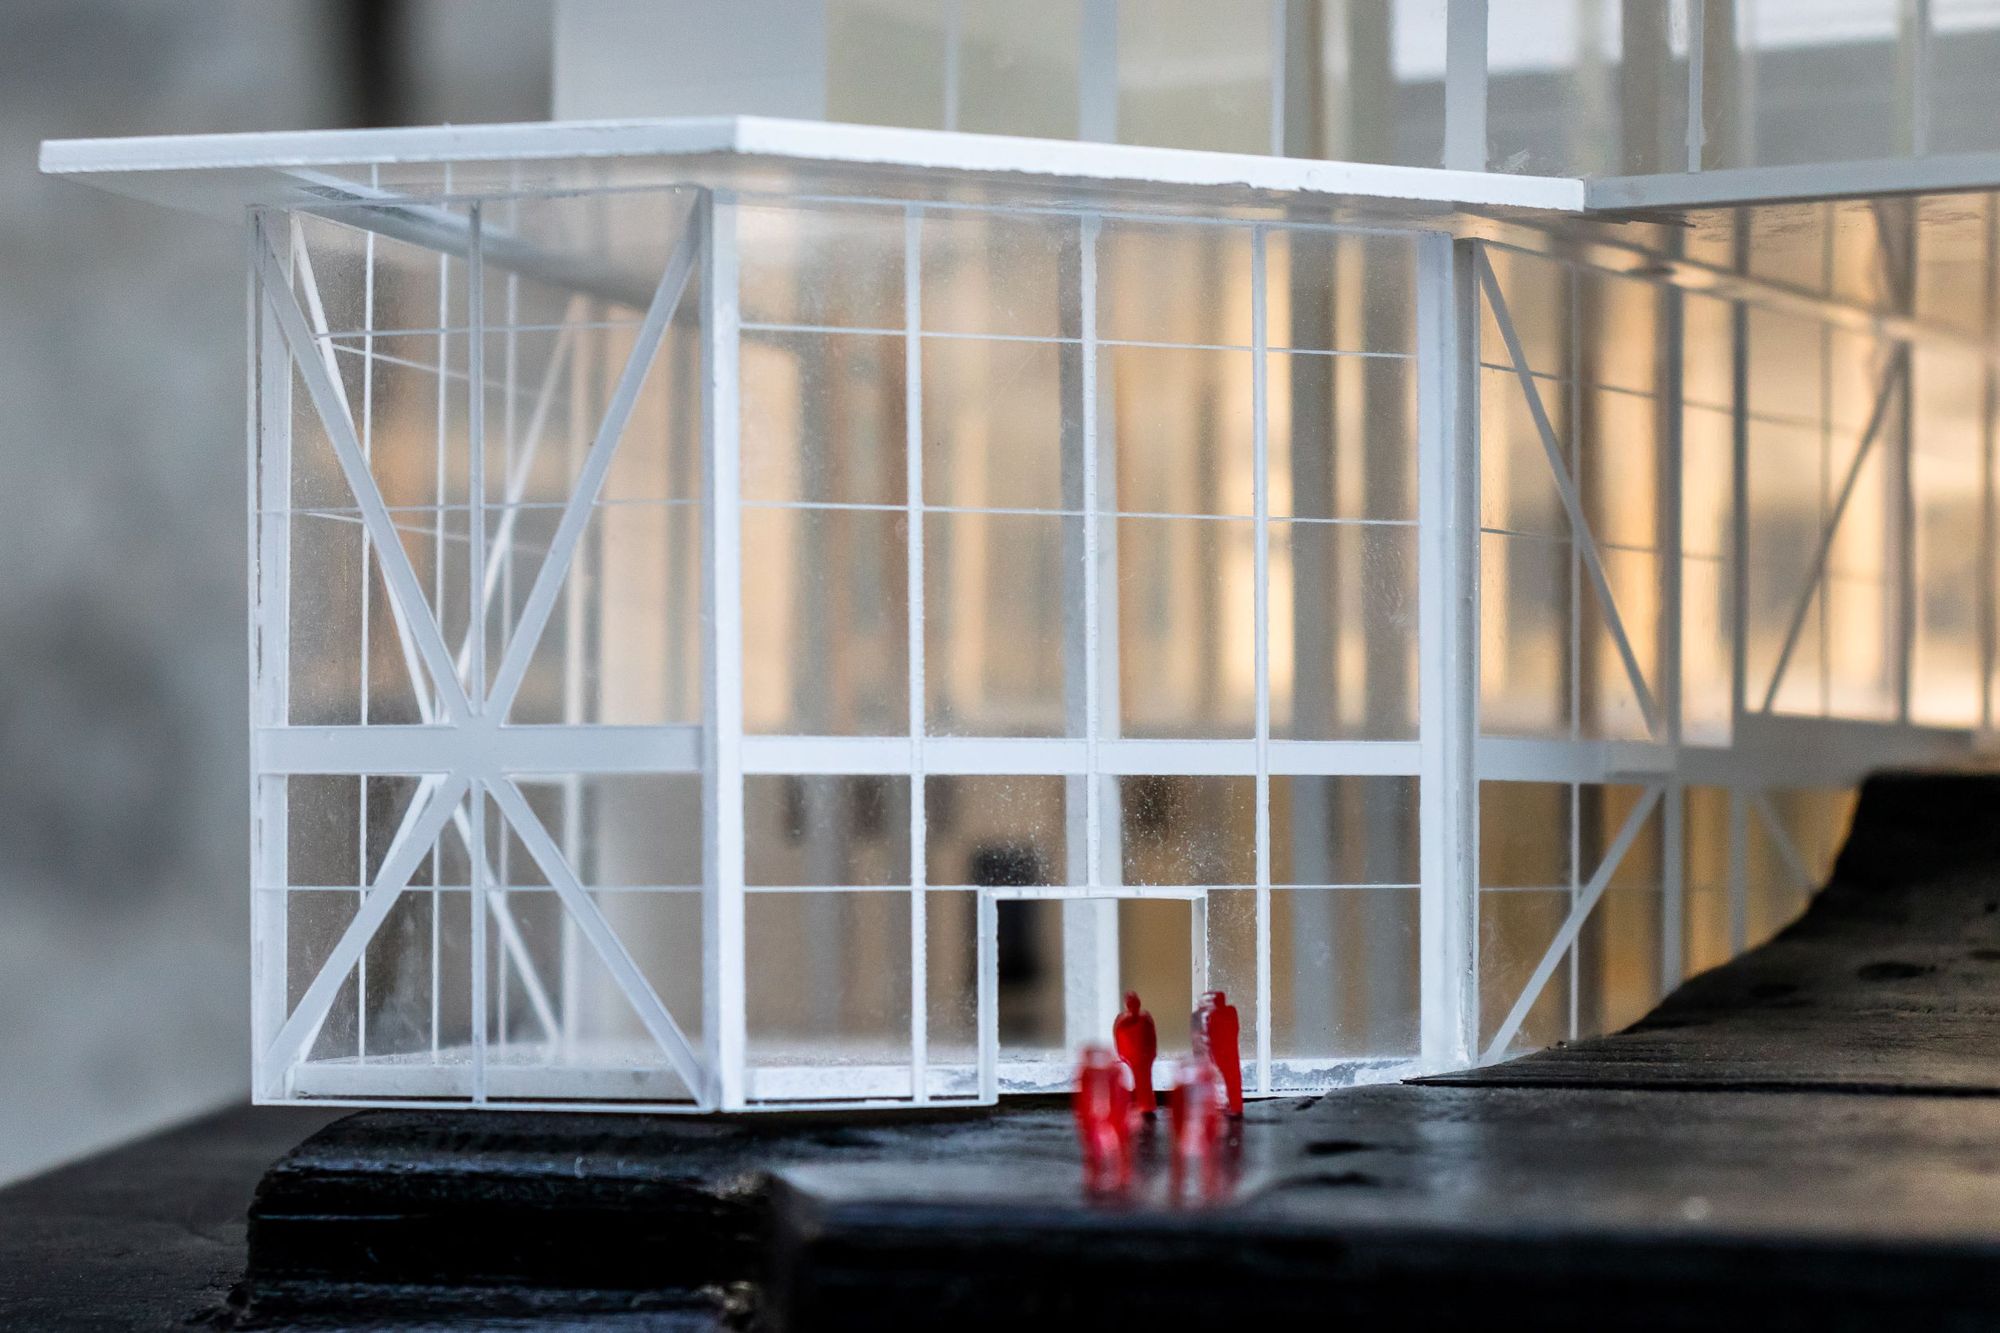
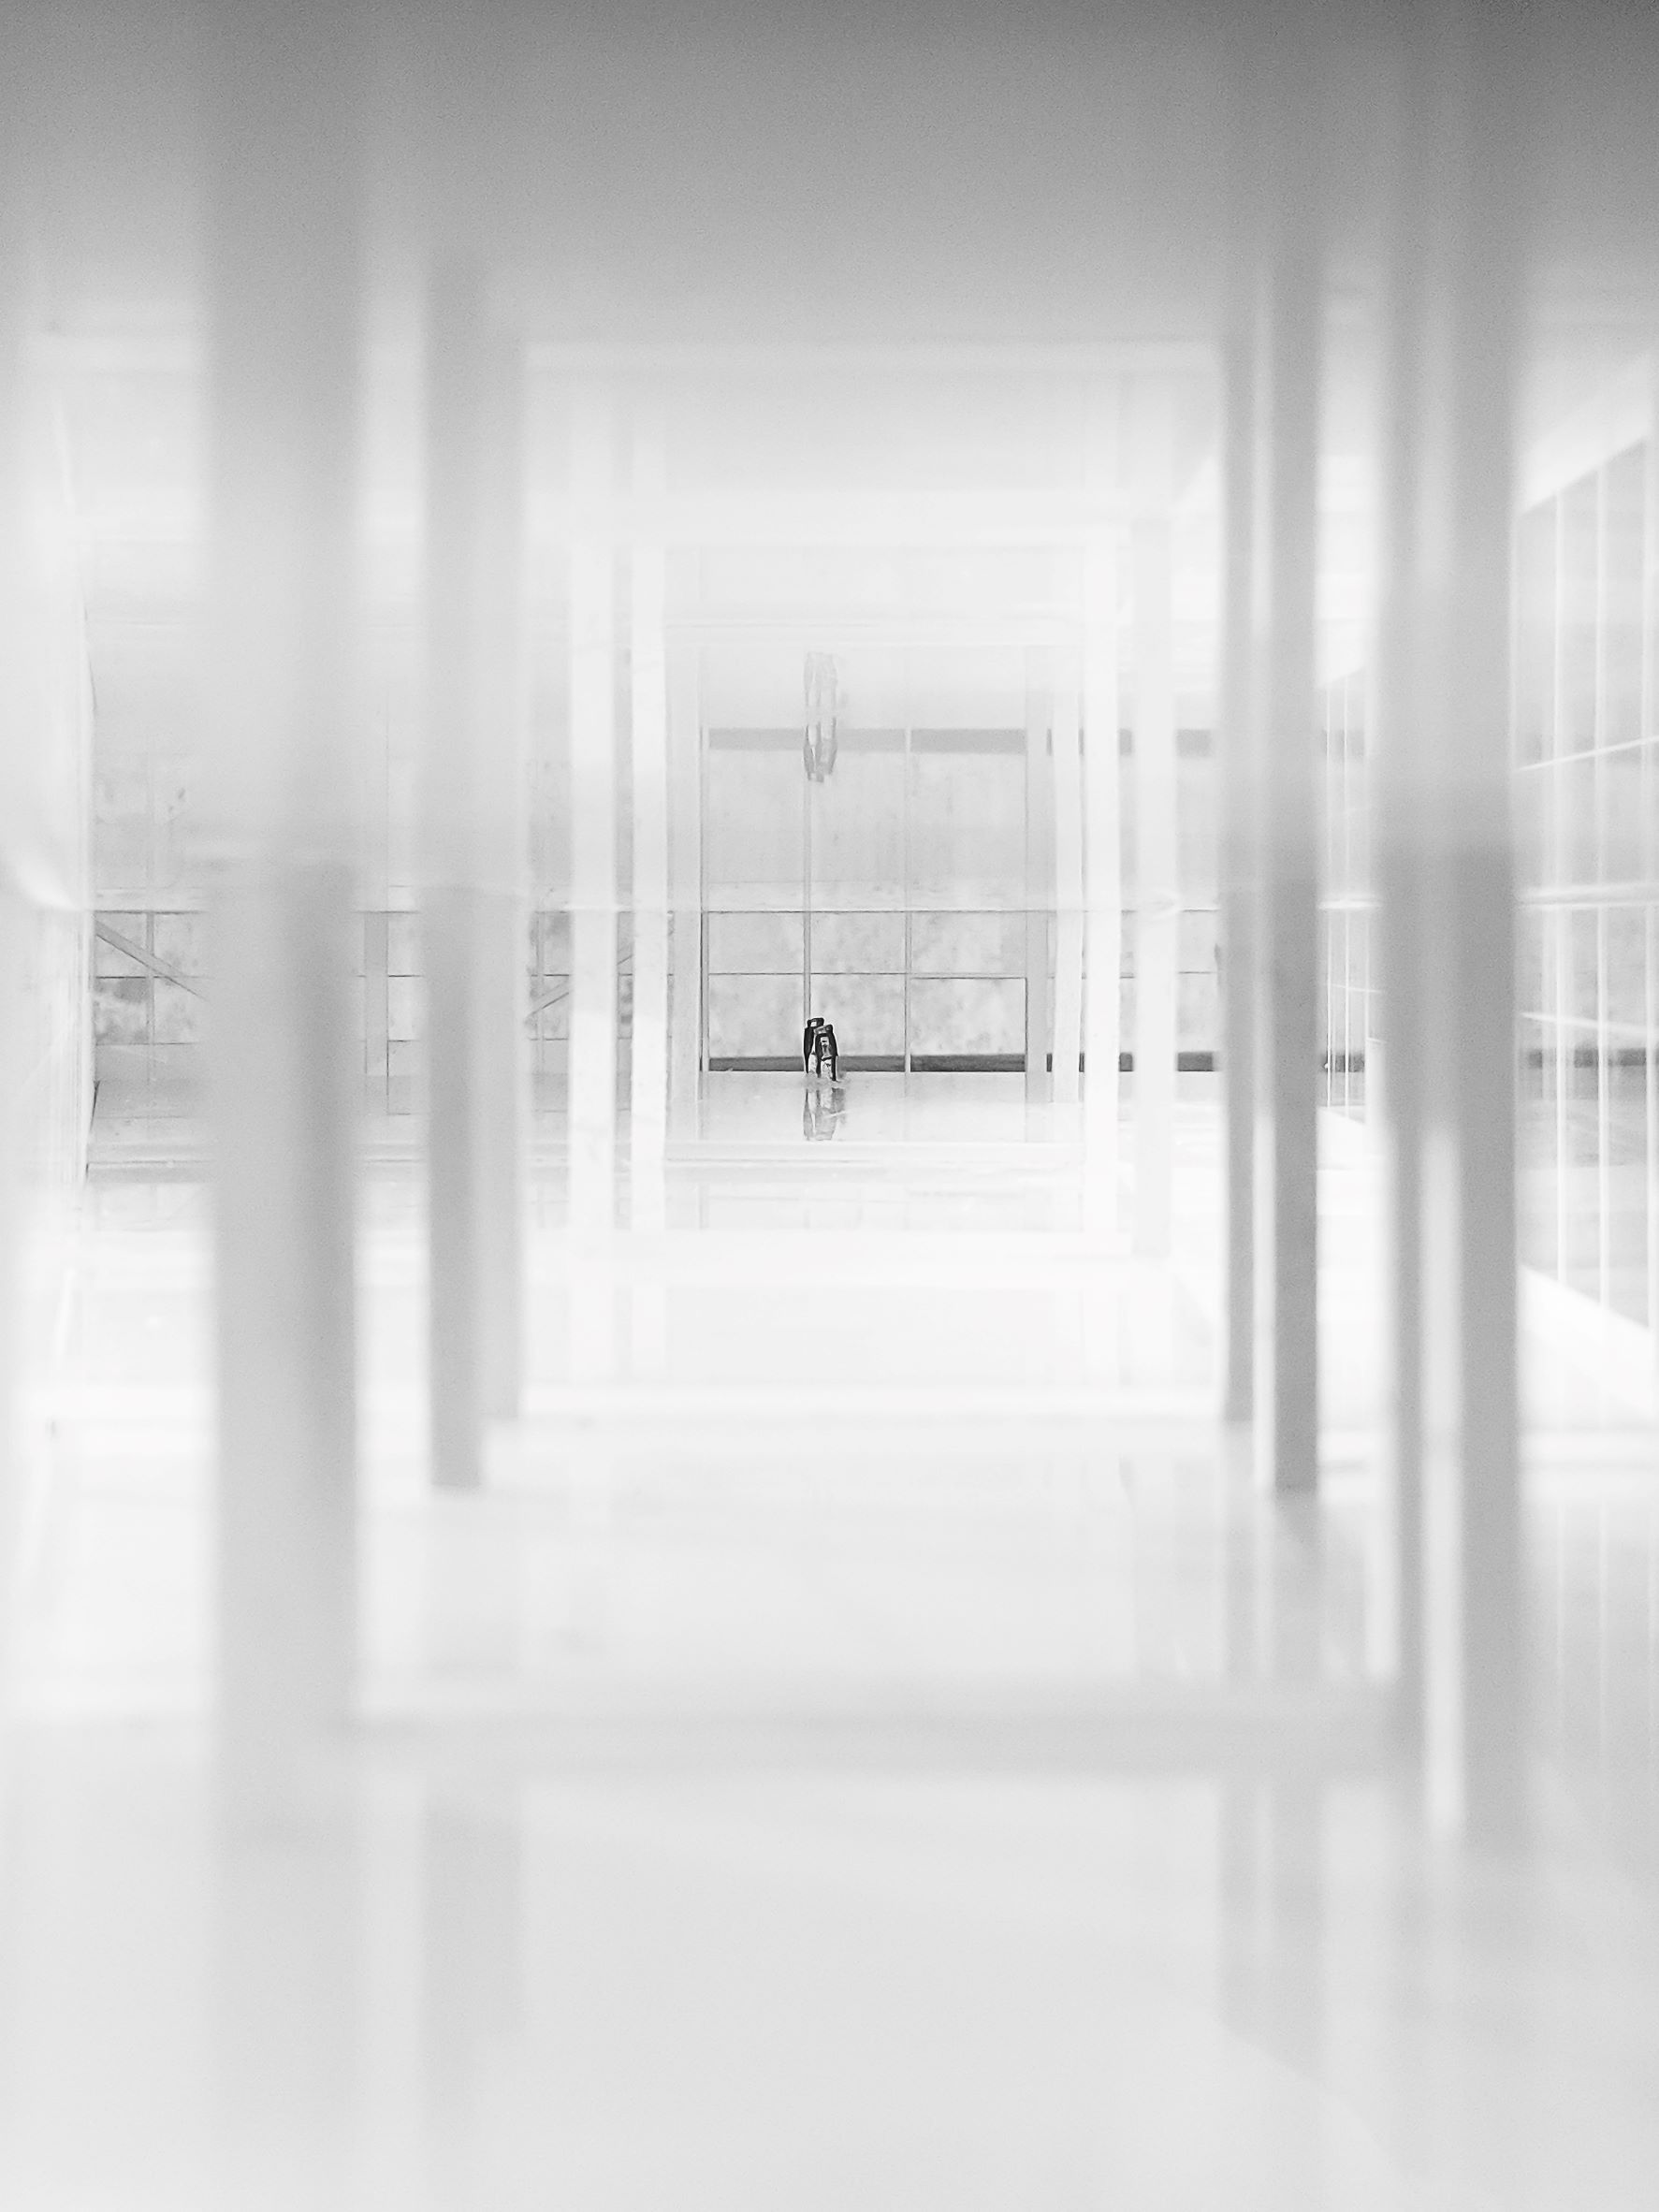
Final Photos:
Credits: This project was a group project, although I made the model pretty much myself the design was very much a collaborative effort. The team members were: Lucy Donaldson · Daniel Li · Maike Newbauer · Alexis Michel · Morgan Tashjian · Nathan Kwong.